Video Tutorial:
Step by step guide:
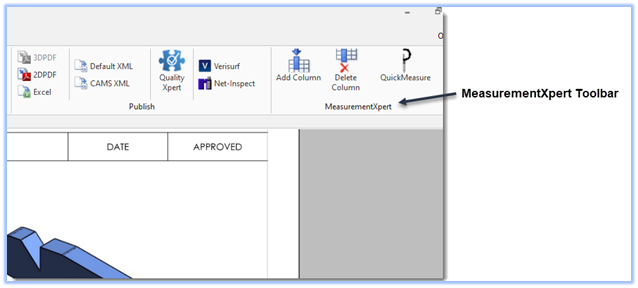
1. Click the "Home" tab, and look for the MeasurementXpert toolbar at the top right:
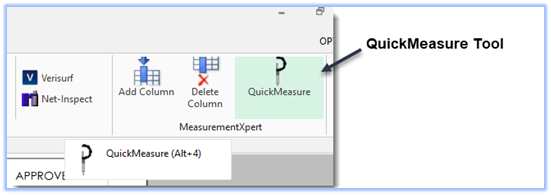
2. Select the QuickMeasure tool from the MeasurementXpert toolbar.
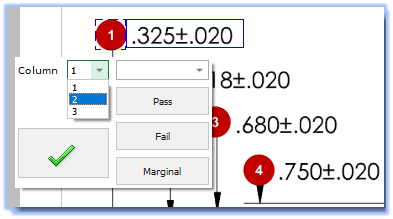
3. Click the balloon that you want to record data for. The QuickMeasure recording window will open:
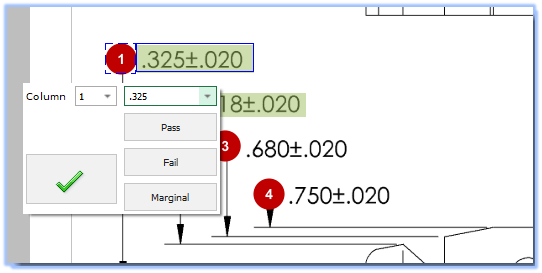
4. You can enter a numerical measurement value, or select "Pass", "Fail" or "Marginal" to enter a text value
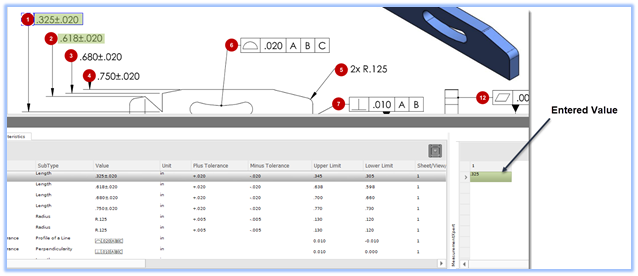
5. Your entered value will appear in the MeasurementXpert window at the bottom-right of your screen
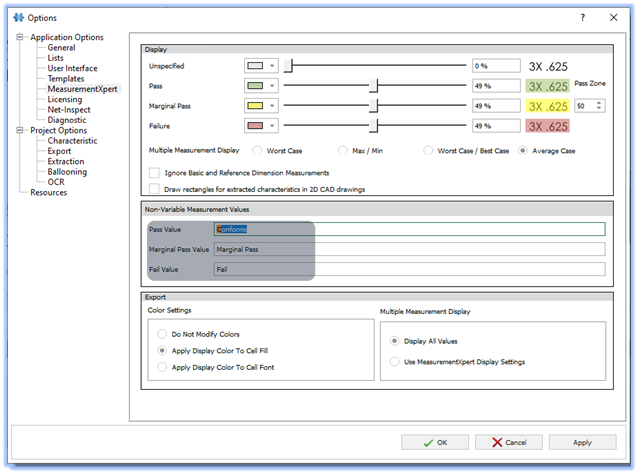
6. If you're entering a text value for "Pass", "Fail" or 'Marginal", you can modify the displayed text by opening the Options window, and in the "MeasurementXpert" panel, change the values in the text field:
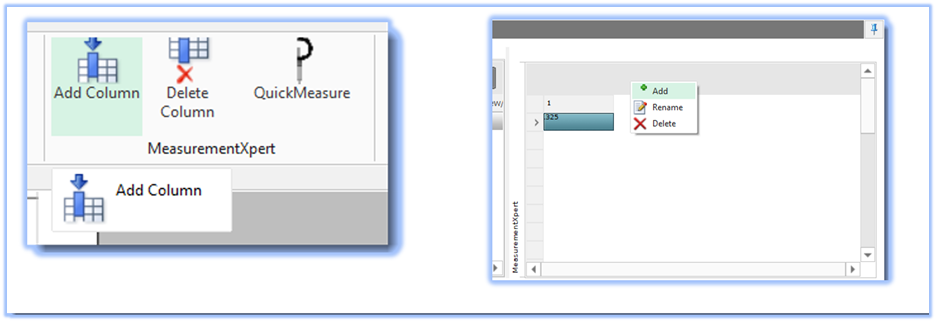
7. If you're measuring multiple parts, You'll need to add multiple columns to the MeasurementXpert window. You can accomplish this by selecting the "Add Column" button in the MeasurementXpert toolbar, or by right-clicking the gray bar above the MeasurementXpert window and selecting "Add":
8. You'll then be able to select the column to apply the value to from the column drop-down.
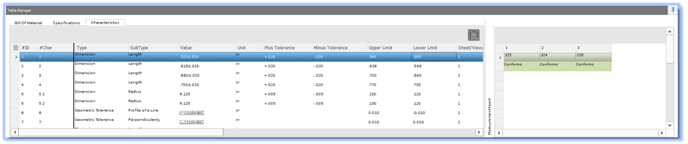
9. Your recorded values will display next to the appropriate characteristic in the table manager, and can be exported to your Excel report.
To learn more about how to activate advanced license features see the following article: How to Activate MeasurementXpert.