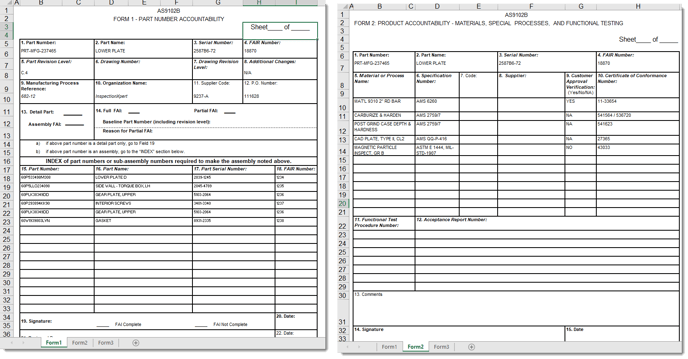
Quickly populate your Bill Of Materials and Specification data using InspectionXpert.
Video Tutorial:
Step by step instructions:
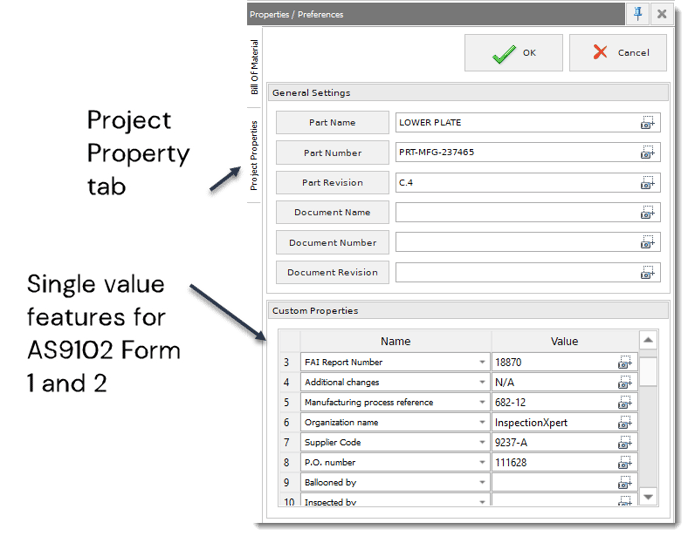
When setting up your AS9102 / AS9102B form 1 and 2 data in InspectionXpert, First set up your "Single Value" features in the "Custom Properties" section of the Project Property tab:
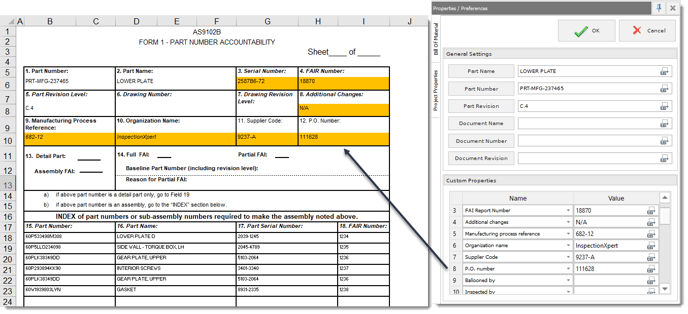
The single values that you enter into the "Custom Properties" section will populate the fields on the top of your AS9102 form 1 and 2:
"Single Value" items can be manually entered, or you can capture the values using OCR:
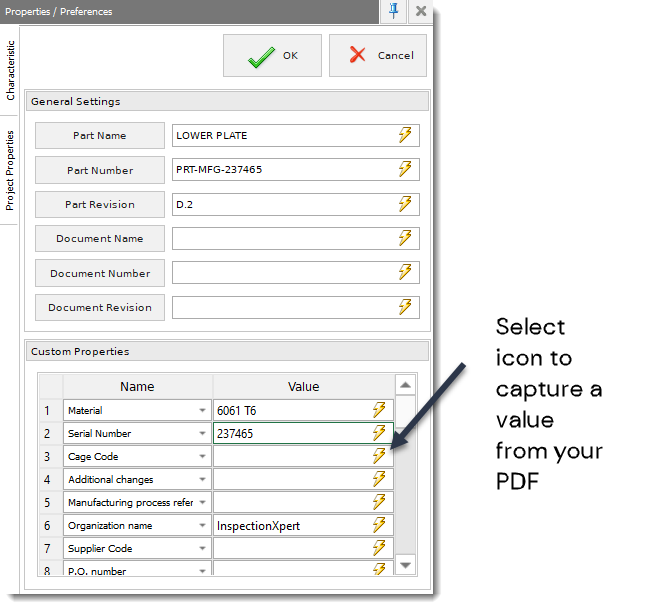
You can capture individual cells of form 1 or form 2 data by adding a PDF file to your InspectionXpert project, and using OCR to capture the items one at a time:
Simultaneous OCR capture can also be accomplished for the entire form 1 or form 2 index, by adding a PDF file that contains the data and selecting the "Extract text from PDF" icon in the Bill of material or specifications tab:
If you don't have a PDF file for your form 1 or 2 data, you can set up an Excel-based .CSV file, and import the data:
Just be sure that the column headers match the columns you want to populate on your Form 1 or 2:
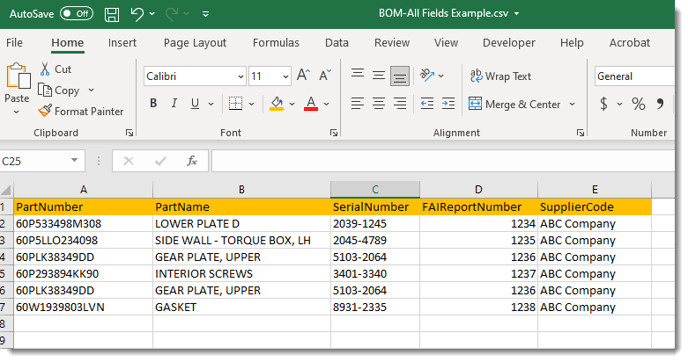
Next, Save the Excel file as a .CSV:

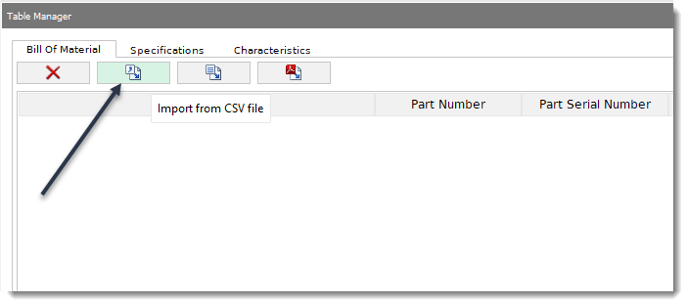
Import the .CSV file into InspectionXpert by selecting the "Import from CSV file" button
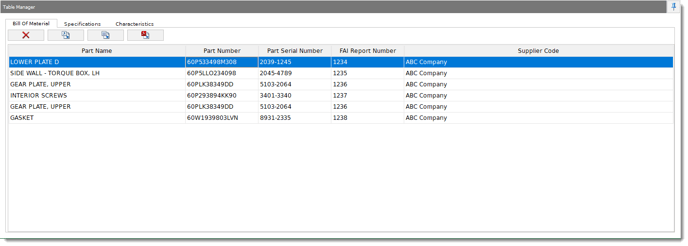
Regardless of which method you use to populate your Form 1 or 2 data in your InpsectionXpert project, the data will display in the "Bill Of Materials" or "Specifications" tabs in the InspectionXpert table manager:
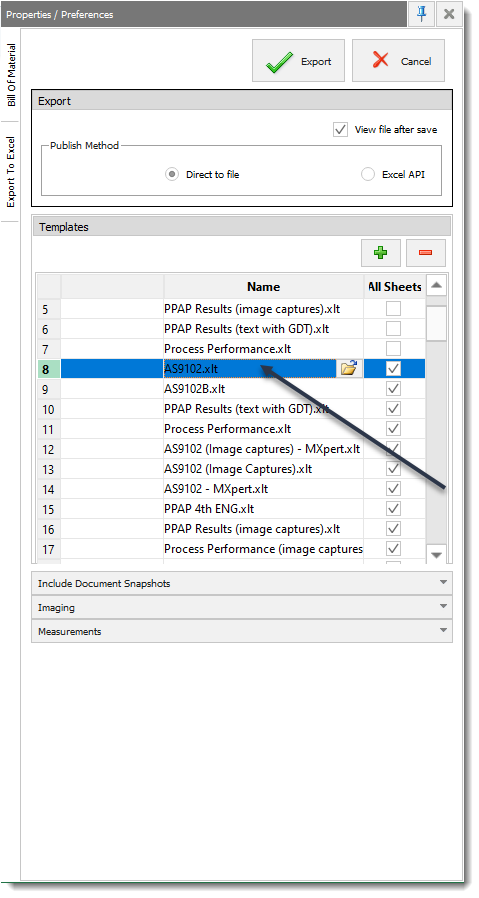
When you're ready to export your completed InspectionXpert project to an Excel report, just select any of our "out of the box" AS9102 templates:
All of your AS9102 Form 1 and Form 2 data will display on the correct tabs of your exported Excel report:
